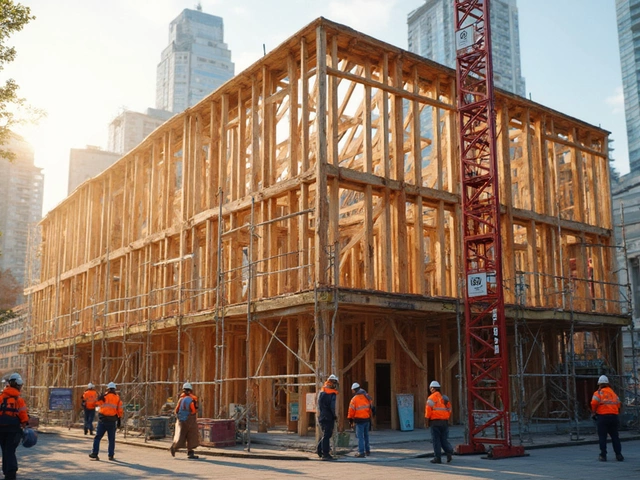
If you think a bathroom renovation is just about swapping out old tiles for new ones, you’re in for a wild ride. The hardest part? It’s never just one thing—it’s how a ton of small jobs all pile up and feed off each other. Suddenly, a simple “weekend project” can drag out for weeks, especially if you miss something along the way.
Here’s one thing people rarely mention: the real challenge is behind the scenes. Stuff like plumbing, waterproofing, and lining up every fixture perfectly makes all the difference between a bathroom that feels fresh and one that floods or never quite looks right. Tiny mistakes in any of these steps can cost you big later.
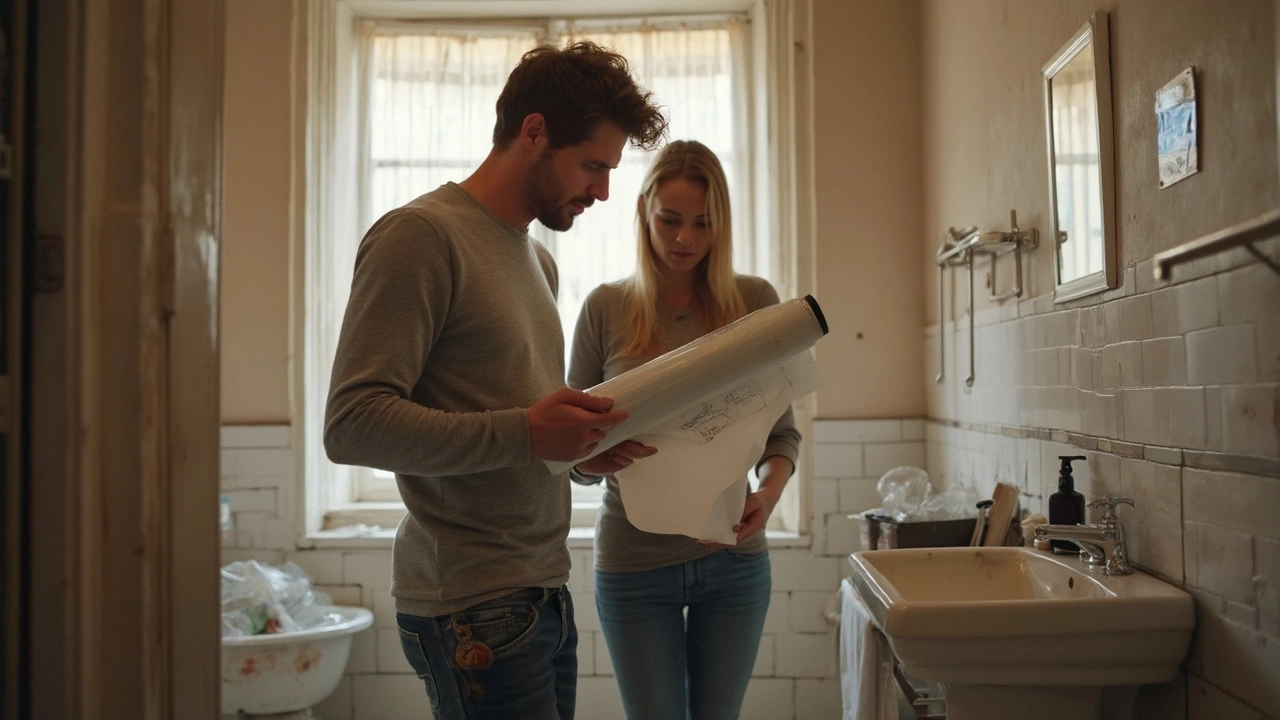
Jumping into a bathroom overhaul isn’t just about picking the perfect faucet. You have to plan, schedule, and rethink your choices at every turn. Each step can uncover problems, especially in older houses—think hidden water damage or surprise pipe placements no one’s seen in decades. Missing these details early means even more work (and money) down the line.
- Why Planning Is Tougher Than You Think
- The Plumbing Puzzle
- Getting Waterproofing Right
- Tiling: Where Precision Matters
Why Planning Is Tougher Than You Think
Most people underestimate just how complicated it is to plan a bathroom renovation. It’s not just picking tiles and fixtures—it’s juggling all the hidden stuff no one sees until the walls are open. You have to nail down the layout, account for weird pipe placements, and make sure everything works together in a tiny, damp space. The smallest mistake in measurements can throw the whole job off, causing headaches when the vanity doesn’t fit or a door smack into the shower.
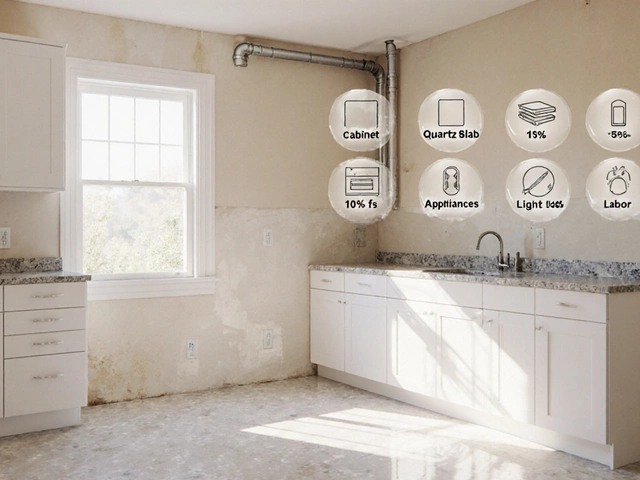
Here’s a fact: the average bathroom is less than 40 square feet, but it needs to fit a bunch of things—sink, toilet, shower, storage—without making you feel cramped. That means every inch counts. According to the National Kitchen and Bath Association, about 60% of bathroom renos go over budget because of surprises in the planning stage alone.
To make planning less of a nightmare, here are the main things you need to look out for:
- Measure Everything Twice: One wrong number can lead to delays and extra costs.
- Chase Down Hidden Issues: Old pipes, bad wiring, or water damage usually lurk under floors or behind walls. Expect something unexpected.
- Budget for Surprises: Always pad your budget by 15-20%. That way, a small snag doesn’t force you to cut corners later.
- Line Up Your Trades: Plumbers, tilers, and electricians all need to show up at the right time. If one misses their slot, the whole project can stall.
Take a look at this quick breakdown of the most common planning headaches and how often they end up causing trouble:
| Problem | Chance It Happens |
|---|---|
| Pipe or wiring surprises | 45% |
| Layout change mid-reno | 35% |
| Blown budget | 60% |
| Fixture delivery delays | 30% |
The more time and thought you put into planning, the smoother everything goes. But even with careful prep, expect to hit bumps—nobody has ever pulled off a bathroom redo without at least one twist.
The Plumbing Puzzle
Here’s where bathroom renovations get really interesting—and kind of nerve-wracking. Moving pipes or fixtures sounds simple at first, but it’s usually the hardest part when overhauling a bathroom. If you’re not careful, even a small mistake can unleash leaks or, worse, hidden water damage inside your walls or floors. That’s serious headache territory.
Older homes usually have pipes that don’t match today’s standards. Some places still have galvanised steel or cast iron pipes, which corrode over time. Replacing or moving these isn’t just about taking out the old and shoving in the new. Sometimes walls or floors have to come out, and you might discover the plumbing layout is totally different from what’s shown on any plans—if you even have them.
Brian Shields, a certified master plumber with over 30 years in the trade, puts it pretty simply:
"Most people only notice plumbing when it goes wrong. Moving a drain by just a few inches can mean ripping up the whole subfloor."
If you’re set on mixing up the layout—maybe swapping the shower and vanity or adding a double sink—make sure you know what’s going on behind the scenes first. Here are some things to watch out for:
- Bathroom renovation work almost always needs to meet local building codes. These codes cover types of pipes, spacing, access, water pressure, and ventilation for drains.
- If you overlook vent pipes or don’t install new ones properly, you’ll run into slow drains and nasty smells.
- Plumbing rough-in—the part where pipes get placed behind walls—isn’t a spot for guesswork. If you get the heights, locations, or connections wrong, you’ll do the whole thing over.
- Water shut-off: Always know where your main water shut-off valve is before starting. You never want to deal with a burst pipe at midnight, scrambling around your house in pajamas.
If you’re feeling out of your depth, there’s no shame in calling a licensed plumber. Skimping here is how little leaks turn into big messes down the road. It’s not always cheap, but it gives peace of mind—and usually saves you from those 2 a.m. emergency calls.
Getting Waterproofing Right
If you mess up waterproofing, you might as well throw money down the drain. This isn’t just about stopping a few splashes from getting onto the floor—waterproofing is what keeps your bathroom from turning into a science experiment full of mold and structural damage.
The most important spots are the floor, the shower area, and anywhere water tends to sit or splash. A simple silicone bead will not cut it. In most regions, regulations (like Australia’s AS 3740 or the UK’s BS 5385) make waterproofing membranes mandatory for showers and wet walls. Ignore this at your own risk, because leaks can take months to show up, and then fixing them means ripping up everything you just installed.
You need a proper waterproofing system—usually a liquid membrane applied with a roller or brush. It needs to go on before tiling, and it usually takes two coats, with drying time in between. Corners, drains, and spots where walls meet floors need special reinforcing tape, or you’ll end up with cracks that let water sneak through. Here’s the basic process you should follow:
- Start with a perfectly clean and dry surface. No dust, no old glue.
- Brush or roller on your primer if the membrane requires it.
- Apply the first coat of membrane, making sure you spread it evenly—don’t leave thin patches.
- Lay down reinforcing tape in corners, around drains, and any cracks.
- Once the first layer dries, do a thorough second coat in the opposite direction for full coverage.
- Let it cure fully—rushing means risking leaks later.
Don’t forget: If you’re not confident with this step, get a pro. Insurance usually won’t pay out if leaks happen and waterproofing wasn’t done by a licensed person. It’s worth double-checking your local rules before you get going, since screwing this up is one of the most expensive mistakes you can make in a bathroom renovation.
Tiling: Where Precision Matters
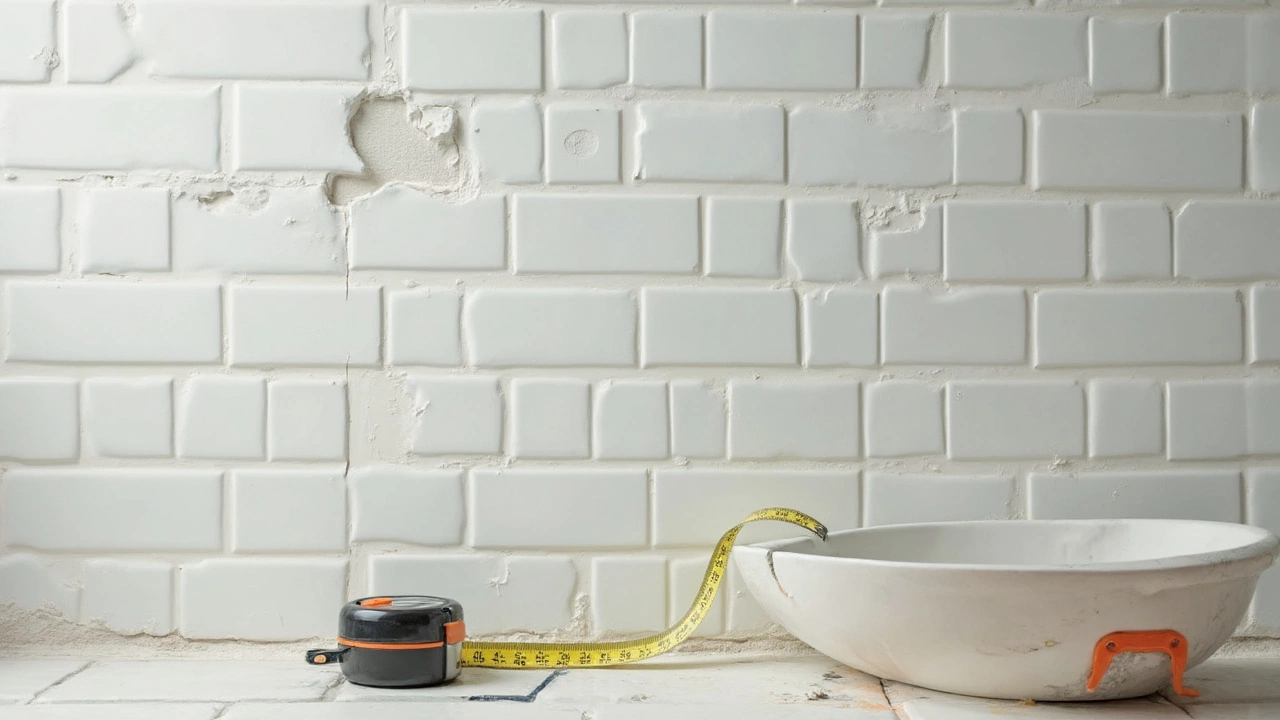
Let’s get real: a bathroom renovation looks only as good as the tiles. Mess up the lines, and even expensive tiles end up looking amateur. Laying tiles isn’t just about sticking them down. Every cut, space, and row has to be spot on. Just a few millimeters off, and the whole pattern can slide out of alignment—and you’ll see it every single day.
There’s math in the mud, literally. A standard tile is about 10-12mm thick, but add adhesive and grout, and it starts to matter exactly how deep you spread everything. Tiles have to be level across the whole wall and floor. If not, water can pool or run in directions it shouldn’t. That’s asking for leaks, cracked tiles, or mold under the surface.
Here’s what trips up most people:
- Getting the layout right at the start. That first tile you lay (the “starter” tile) sets the look for the whole room. If it’s crooked, everything else will be, too.
- Accounting for grout lines. Tiles aren’t stacked right up against each other; there are tiny gaps for grout. These have to be even and consistent, or things really start to look wonky fast.
- Cutting tiles to fit odd spaces. Bathtubs, outlets, and pipes mean awkward corners. Cutting the tile for pipes? It’s one of the trickiest jobs. Mess up, and you either waste a tile or it won’t fit.
Even pros measure every tile placement two or three times before sticking them down. Try skipping the laser level and you’ll regret it. Something as simple as a slightly sloped floor can throw the whole job off.
Here’s a quick look at how much one little mistake can set you back:
| Error | Average Cost to Fix | Common Causes |
|---|---|---|
| Uneven Tiles | $300 - $800 | Poor leveling, rushing layout |
| Leaky Grout Lines | $200 - $600 | Skipping prep, sloppy sealing |
| Cracked Tile Edges | $50 - $200 per tile | Bad cuts, wrong tools |
If you take away one tip for tiling: double-check every measurement, dry-lay your tiles before adding adhesive, and never skip surface prep. Saving a little time here usually means spending a whole lot more later.