New Build Decoration Readiness Calculator
Enter your details to determine if it's safe to decorate or if you need to wait.
Your Situation
Awaiting Input
Enter your move-in date and humidity to see your status.
Months 1–3: High Moisture
Do not decorate. Keep heating low (18°C/65°F) and ventilate daily. No wallpaper or oil paints.
Months 4–6: Stabilizing
Proceed with caution. Emulsion paints may be applied if surface is dry to touch. Avoid heavy textures.
Month 6+: Ready
Safe to decorate. Apply mist coat first. Install mirrors, shelves, and permanent fixtures safely.
You’ve just collected the keys to your brand-new house. The smell of fresh carpet and paint is still in the air, and you’re itching to hang those family photos, put up the curtains, and make it feel like home. But then, the builder or your estate agent drops a bombshell: "Don’t decorate yet." It feels counterintuitive, right? Why would you wait when everything looks perfect? The truth is, that pristine look is deceptive. Your new build isn’t actually ready for permanent fixtures or heavy decor because it’s still technically wet.
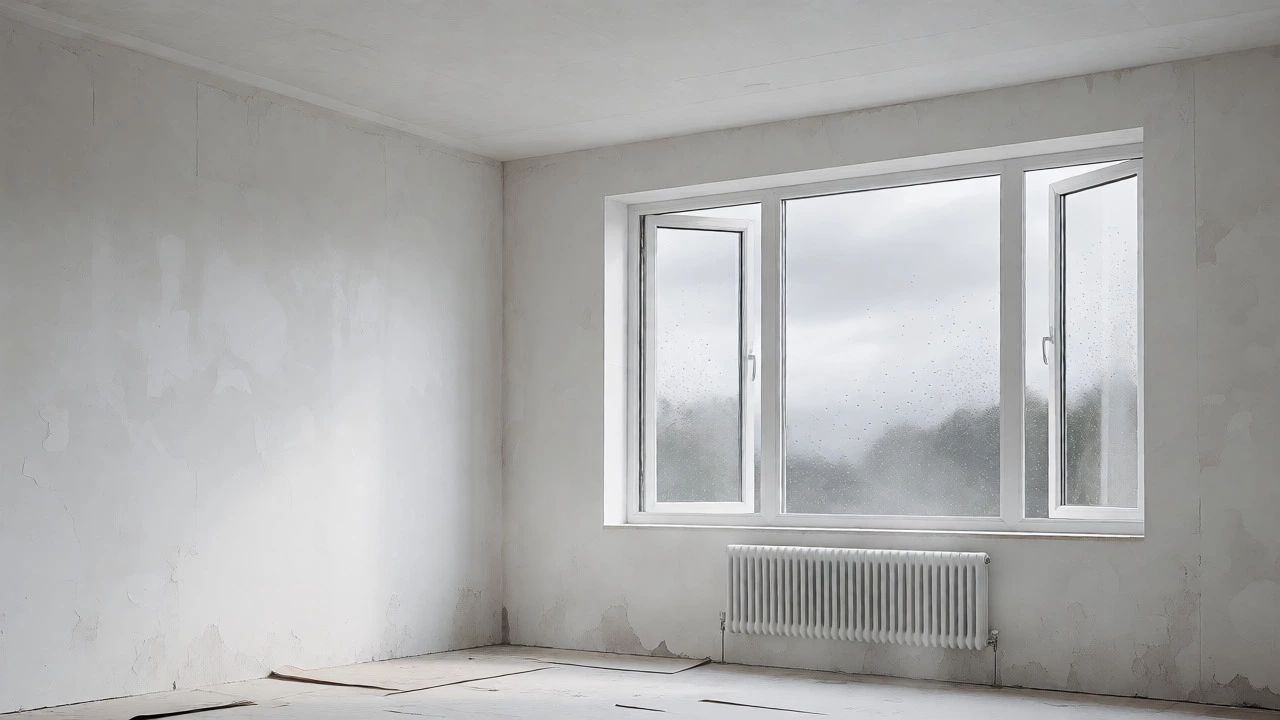
This isn’t about being picky; it’s about physics. A new build contains hundreds of thousands of liters of water from concrete, plaster, and screed. If you trap this moisture behind wallpaper or thick paint too early, you risk mold, peeling finishes, and warped wood. This waiting period is known as the drying out period, and skipping it is one of the most common-and expensive-mistakes homeowners make.
The Hidden Water in Your Walls
Think about how a modern house is constructed. It’s not just dry materials stacked together. Concrete foundations require massive amounts of water to cure. Internal walls are often finished with skim coat plaster, which is applied wet. Floors might have sand-and-cement screeds or anhydrite screeds that hold significant moisture. Even the timber framing can contain residual moisture from storage.
A typical three-bedroom detached new build can retain over 10,000 liters of water after completion. That’s roughly two large swimming pools’ worth of moisture hidden inside your structure. In older homes, buildings were built with breathable materials like lime plaster and solid brick, allowing moisture to evaporate naturally through the walls. Modern construction, however, relies on tight insulation, vapor barriers, and synthetic paints that seal the building envelope. This means the water has nowhere to go but into the air inside your home.
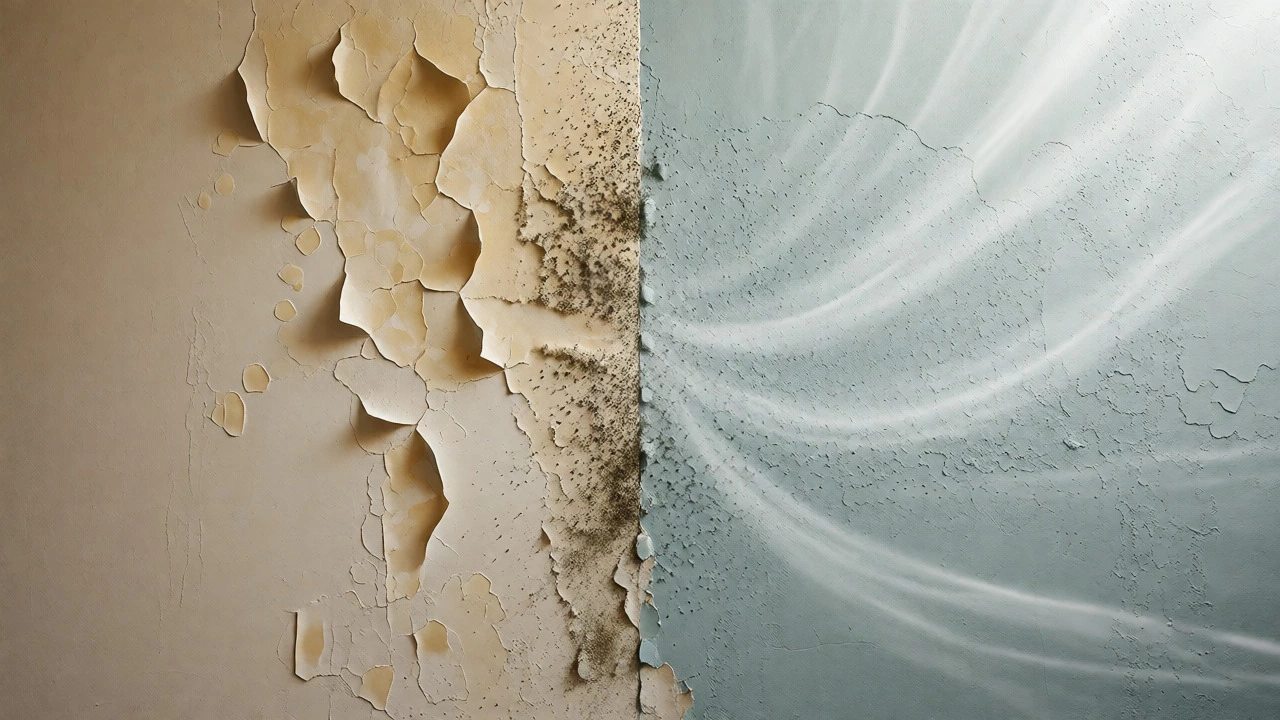
If you decorate immediately, you essentially seal the exits. Wallpaper paste needs to dry, but if the wall behind it is damp, the adhesive won’t bond properly. Paint applied to damp plaster can blister or flake off within months. Worse, trapped moisture creates the perfect breeding ground for black mold, which thrives in warm, humid, poorly ventilated spaces-exactly what a newly sealed room becomes.
How Long Should You Wait?
There is no single magic number, but industry standards suggest a minimum of three to six months before applying final decorative finishes. Some builders recommend waiting until the first heating season has passed. This timeline allows the bulk of the construction moisture to evaporate under controlled conditions.
Here is a realistic breakdown of what happens during each phase:
- Months 1-3: Rapid evaporation occurs. Windows should be kept slightly open (if weather permits) to allow airflow. Condensation will be high. Do not apply vinyl wallpaper or oil-based paints.
- Months 4-6: Moisture levels drop significantly. You can begin applying emulsion paints, provided the surface is completely dry to the touch. Avoid heavy textures or dark colors initially.
- Month 6+: Most critical drying phases are complete. You can safely install mirrors, heavy shelving, and permanent light fixtures without worrying about immediate damage from shifting substrates.
Always check your specific warranty documents. Many NHBC warranties (in the UK) or similar structural guarantees elsewhere explicitly state that decorating before the property is dry may void claims related to dampness or plaster defects.
Managing Condensation During the Waiting Period
While you wait, you aren’t powerless. In fact, active management is crucial. The goal is to help the house breathe without letting it get cold. Heating is your best friend here, but only if used correctly.
Run your central heating at a low, constant temperature (around 18°C or 65°F) rather than blasting it on high occasionally. This steady warmth helps drive moisture out of the materials. Pair this with ventilation. Open windows briefly several times a day to swap humid indoor air for drier outdoor air. Use extractor fans in kitchens and bathrooms whenever you cook or shower. These rooms generate the most additional moisture, compounding the construction dampness.
| Strategy | Action | Why It Works |
|---|---|---|
| Constant Low Heat | Maintain 18°C/65°F continuously | Prevents thermal shock and encourages gradual evaporation without cracking plaster. |
| Cross-Ventilation | Open opposite windows for 10-15 mins daily | Creates airflow that carries moist air out faster than passive leakage. |
| Dehumidifiers | Run in bedrooms/living areas overnight | Actively pulls water from the air, speeding up the drying process by up to 30%. |
| Avoiding Seals | No wallpaper/oil paints yet | Keeps surfaces porous so moisture can escape through the finish layer. |
Consider renting a commercial-grade dehumidifier for the first few weeks. They pull moisture directly from the air, lowering humidity levels faster than natural ventilation alone. This is especially useful in winter when outside air is cold and holds less capacity to absorb moisture once heated indoors.
What Happens If You Ignore the Warning?
Ignoring the drying-out period leads to predictable, costly failures. Here’s what typically goes wrong:
Plaster Cracking and Crazing: As plaster dries, it shrinks. If you paint over it while it’s still shrinking, the paint film bridges the cracks. When the plaster finally moves, the paint tears. You end up with spiderweb cracks across your freshly painted walls, requiring repainting sooner than necessary.
Wallpaper Failure: Wallpaper adheres using paste, which is water-based. If the wall is damp, the paste reactivates or fails to cure. Bubbles form, seams lift, and mold grows behind the paper. Removing ruined wallpaper later often damages the plaster underneath, necessitating repairs before you can redecorate.
Woodwork Warping: Skirting boards, door frames, and fitted wardrobes are made of timber. Wood absorbs and releases moisture based on ambient humidity. In a damp new build, wood swells. Later, as the house dries, it shrinks. This movement causes gaps at joints, doors sticking in frames, and skirting boards pulling away from walls. Waiting allows this initial major movement to settle.
Persistent Musty Smell: Trapped moisture doesn’t just affect looks; it affects health. Stagnant dampness promotes bacterial growth and mold spores, leading to respiratory issues and allergies. Ventilation solves this, but sealing the house with non-breathable materials locks the problem in.
Safe Decoration Steps After the Wait
Once you’ve waited the recommended time, don’t jump straight into bold choices. Ease your way in.
Start with a mist coat. This is a thinned-down emulsion paint (usually 70% paint, 30% water) applied as the first layer. Unlike standard paint, a mist coat penetrates the porous plaster, bonding deeply rather than sitting on top. It acts as a primer, sealing the surface gently while allowing any remaining trace moisture to escape. Never use vinyl silk or eggshell finishes on raw new plaster-they form a hard skin that traps moisture.
After the mist coat dries (usually 24 hours), apply two full coats of your chosen color. Check for any signs of damp patches or yellowing, which indicate moisture bleeding through. If you see these, stop and investigate. It might mean you started too soon.
When hanging pictures or installing shelves, use appropriate fixings. New builds often have different wall densities than older homes. Plasterboard is common, so ensure you use toggle bolts or self-drilling anchors designed for hollow walls. Avoid heavy loads on ceilings until you’re certain the joists have settled and any shrinkage in the roof structure has occurred.
Common Myths About New Build Decoration
Let’s clear up some confusion that often delays people unnecessarily or causes them to rush.
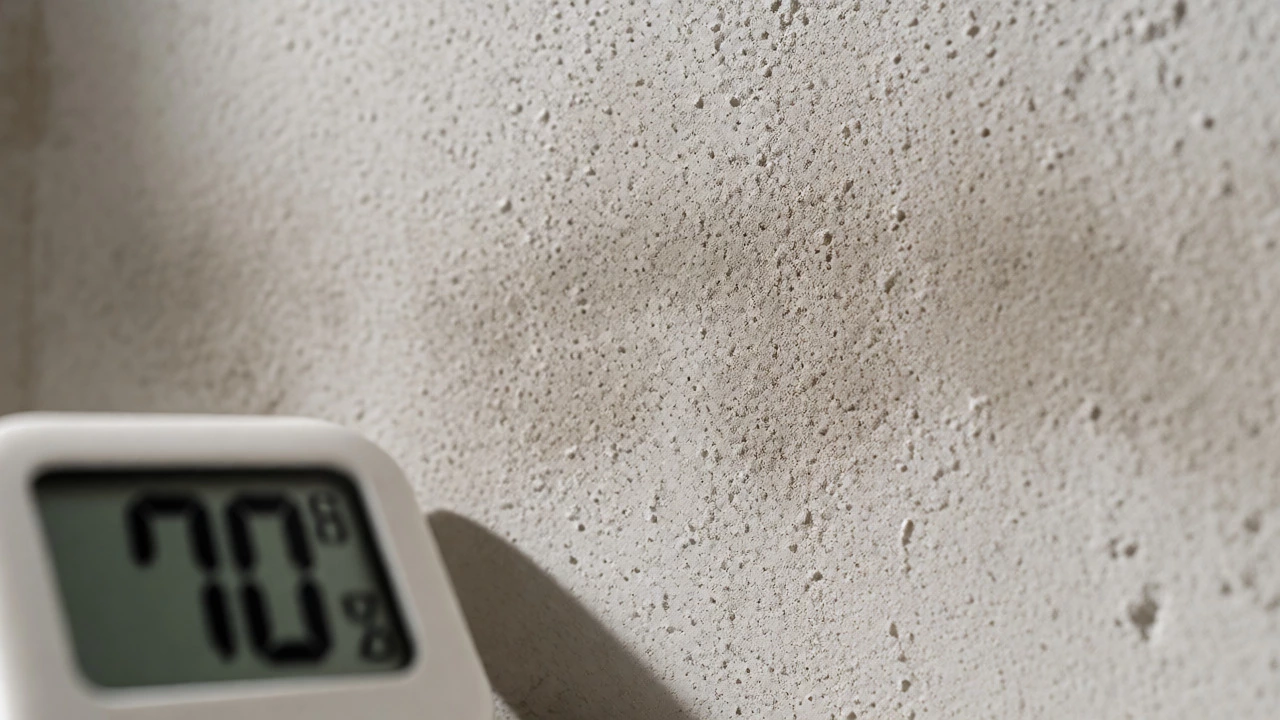
Myth 1: "The house feels dry, so I can decorate." Feeling dry is misleading. Surface moisture evaporates quickly, but deep moisture in screeds and blocks takes months. Use a hygrometer to measure relative humidity. Aim for below 60% consistently before starting.
Myth 2: "I can wallpaper now if I use breathable glue." While breathable glues exist, they aren’t foolproof against high substrate moisture. Unless you’re using lime-based plasters specifically designed for rapid occupancy, stick to paint first. Wallpaper is a luxury you can afford once the environment stabilizes.
Myth 3: "Heating ruins the drying process." Actually, lack of heating does. Cold air holds less moisture, slowing evaporation. Warm air holds more, facilitating transfer from material to air. Just ensure you ventilate to remove that moist air.
Next Steps and Troubleshooting
If you’re currently in the waiting period, here’s your checklist:
- Buy a Hygrometer: Monitor humidity levels in key rooms. Record daily readings.
- Keep Heating On: Set thermostats to a low, constant level. Do not turn off heating overnight.
- Ventilate Daily: Crack windows open, even in winter, for short bursts.
- Inspect for Mold: Check corners, behind furniture, and near external walls weekly.
- Delay Heavy Furniture: Let carpets acclimatize. Don’t push sofas flush against walls immediately; leave a gap for airflow.
If you notice persistent damp spots after six months, contact your builder. Under most new build warranties, they are responsible for rectifying defects arising from construction moisture within the first two years. Document everything with photos and humidity logs.
Can I move furniture into a new build immediately?
Yes, but with caution. Move soft furnishings like sofas and beds in, but avoid pushing them tightly against external walls. Leave a small gap to allow air circulation, which helps prevent mold growth behind the furniture where airflow is restricted. Carpets can usually be laid immediately, but keep the area well-ventilated.
What is a mist coat and why do I need it?
A mist coat is a diluted layer of emulsion paint (typically 70% paint, 30% water) applied as the first coat on new plaster. New plaster is highly porous and absorbs standard paint unevenly, leading to patchiness. The mist coat seals the surface gently, providing a stable base for subsequent full coats of color. Skipping this step often results in poor adhesion and visible imperfections.
How do I know when my new build is dry enough to decorate?
Use a hygrometer to measure indoor relative humidity. Consistent readings below 60% indicate the air is dry enough for painting. Additionally, visually inspect walls for damp patches or condensation streaks. Touch tests are unreliable; rely on data. If possible, use a professional moisture meter on the plaster itself, aiming for readings below 1.5% CM (Carbide Method).
Will decorating too early void my warranty?
It can. Many warranties, such as the NHBC in the UK, specify that owners must follow proper maintenance procedures, including allowing the property to dry out. If premature decoration traps moisture and causes mold or plaster failure, the builder may argue that the defect was caused by improper owner action rather than construction quality, potentially denying the claim.
Is condensation normal in a new build?
Yes, absolutely. High levels of condensation on windows and cold surfaces are expected during the first 6-12 months. This is the construction moisture escaping into the interior air. It does not necessarily indicate a leak or insulation fault. Proper heating and ventilation will manage it. If condensation persists heavily after a year, consult your builder.