Foundation Repair Timeline Estimator
Seeing a crack in your foundation is one of the most stressful moments for a homeowner. Your first thought isn’t usually about engineering specs; it’s about logistics. You’re wondering how long you’ll be without access to your basement, how many days of construction noise you can endure, and when life will return to normal. The short answer? It depends entirely on what’s actually broken. A simple hairline crack might take an afternoon to seal, while lifting a sinking slab with hydraulic piers can take three to five days.
The confusion stems from the fact that "fixing a crack" is often a misnomer. Homeowners see the symptom (the crack) but the repair addresses the cause (movement). Understanding the difference between cosmetic sealing and structural stabilization is the key to predicting your timeline accurately. Let’s break down exactly how long different repairs take, what delays them, and what you need to prepare for.
Diagnosis: The First Step That Sets the Clock
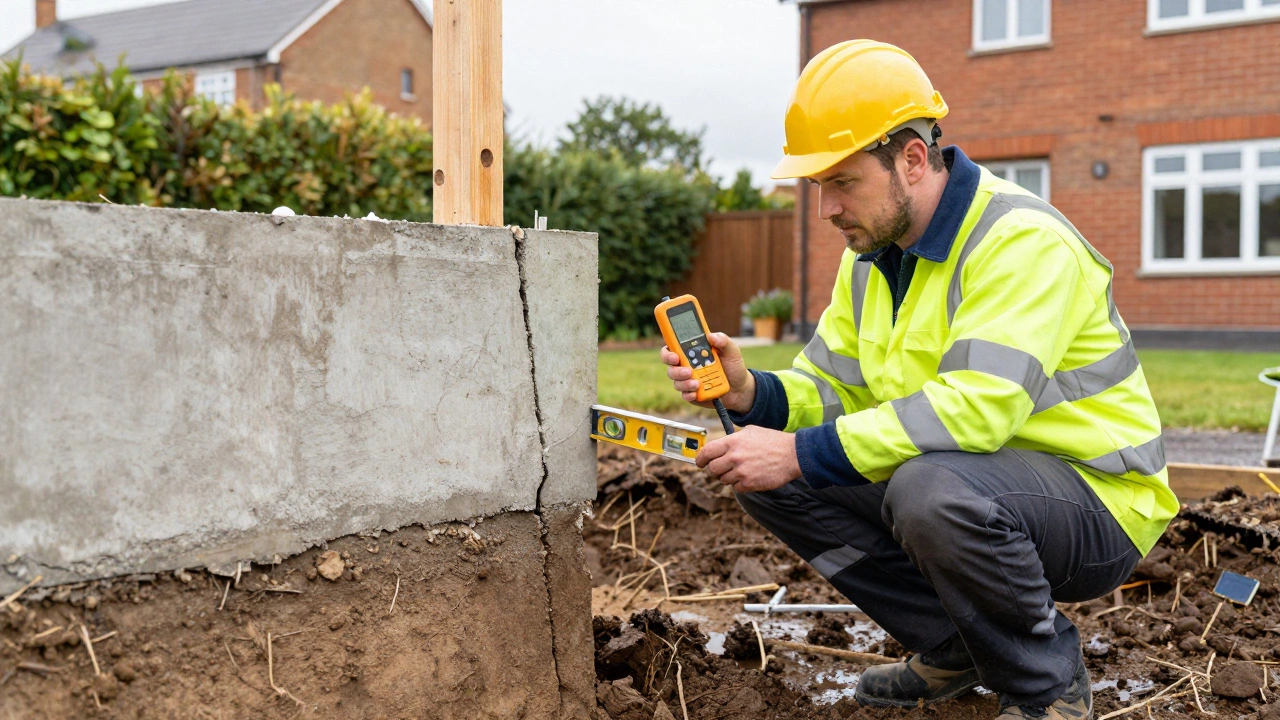
Before any concrete is poured or steel is driven, you need a professional assessment. This phase doesn’t involve heavy machinery, but it dictates the entire schedule. If you skip this or hire someone who guesses, you risk fixing the wrong problem, which means doing the work twice.
A thorough inspection by a licensed structural engineer or experienced foundation contractor typically takes 1 to 2 hours on-site. They aren’t just looking at the crack width; they are measuring elevation changes, checking for water intrusion, and analyzing soil conditions. In Auckland, where we deal with volcanic ash soils that shrink and swell significantly, understanding the ground beneath your house is critical.
After the site visit, the engineer writes a report. This document details the extent of the damage and recommends specific repair methods. Expect this report to arrive within 3 to 5 business days. During this week, no physical work happens, but this pause prevents costly mistakes. The report becomes your roadmap, allowing you to get accurate quotes and plan your schedule around the actual repair method required.
Scenario 1: Cosmetic Sealing (Hairline Cracks)
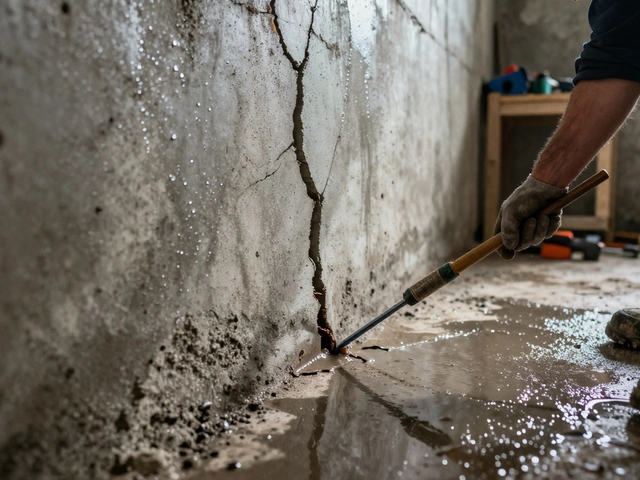
If your inspection reveals that the foundation is stable and the cracks are purely cosmetic-usually less than 1/8th of an inch wide-the repair is straightforward. These cracks often result from concrete curing or minor seasonal shifts rather than structural failure. The goal here is to stop water infiltration and prevent the crack from widening, not to lift the house.
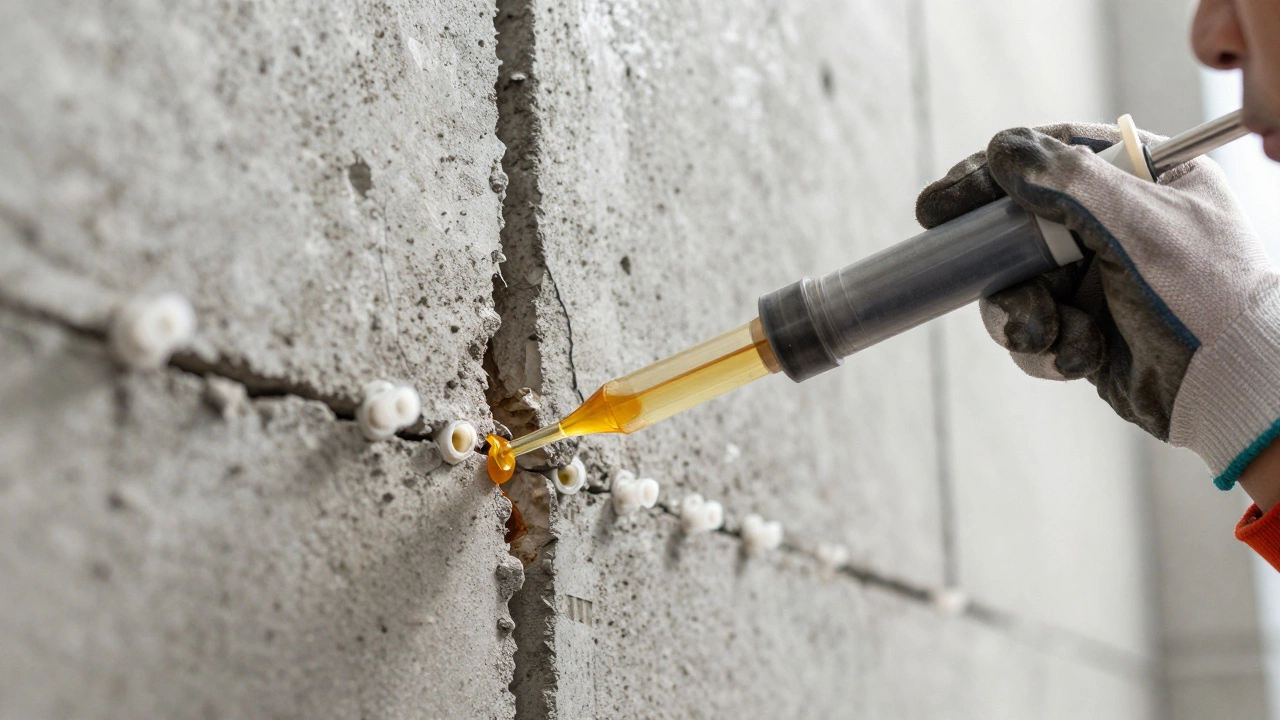
Epoxy injection or polyurethane foam sealing is the standard solution. Here is the typical timeline:
- Preparation: Cleaning the crack surface and installing injection ports. (2-4 hours)
- Injection: Pumping the epoxy or polyurethane into the void. (1-2 hours per crack)
- Curing: Epoxy usually cures in 24 hours, though light traffic can resume sooner. Polyurethane foams cure in minutes.
- Total Time: Most contractors complete this in a single day. You can often use the area immediately after cleanup.
This is the fastest repair option. However, if water pressure is high behind the wall, the contractor may need to install exterior drainage solutions, which extends the timeline significantly. Always ask if the quote includes only the sealing or also addresses the water source.
Scenario 2: Structural Stabilization (Steel Carbons & Wall Anchors)
When cracks are wider (over 1/4 inch), horizontal, or accompanied by bowing walls, the foundation is actively moving. Sealing the crack won’t help because the pressure will eventually pop the sealant out. Instead, you need to reinforce the structure to stop further movement. Common methods include installing carbon fiber strips or steel I-beams.
Carbon fiber reinforcement is popular because it’s fast and minimally invasive. Strips are bonded to the wall with structural epoxy. For a standard 10-foot section of wall, this takes about 4 to 6 hours. A whole basement might take 1 to 2 days depending on the number of affected walls. The epoxy needs 24 to 72 hours to reach full strength, so you should avoid leaning heavy objects against the wall during that period.
If the bowing is severe, steel beam bracing is required. This involves cutting into the floor and ceiling to install vertical supports. This is more disruptive. Expect the process to take 3 to 5 days. You’ll need to move furniture, protect floors, and potentially relocate to another room or home while the beams are set and secured. Dust and noise levels are higher with this method compared to carbon fiber.
Scenario 3: Lifting and Leveling (Slabjacking & Piers)
This is the major league of foundation repair. If your house has sunk due to soil erosion or compaction, you need to lift it back to level. This applies to both basement foundations and slab-on-grade homes. The two main techniques are mudjacking (slabjacking) and helical or push piers.
Mudjacking/Slabjacking: This involves drilling holes into the concrete slab and pumping a cementitious slurry underneath to fill voids and lift the slab. It’s quick and cost-effective for driveways and porches. For a residential driveway, expect 4 to 8 hours of active work. The concrete needs 24 to 48 hours to cure before driving on it. For interior slabs, the timeline is similar, but you must account for drying time if moisture was present.
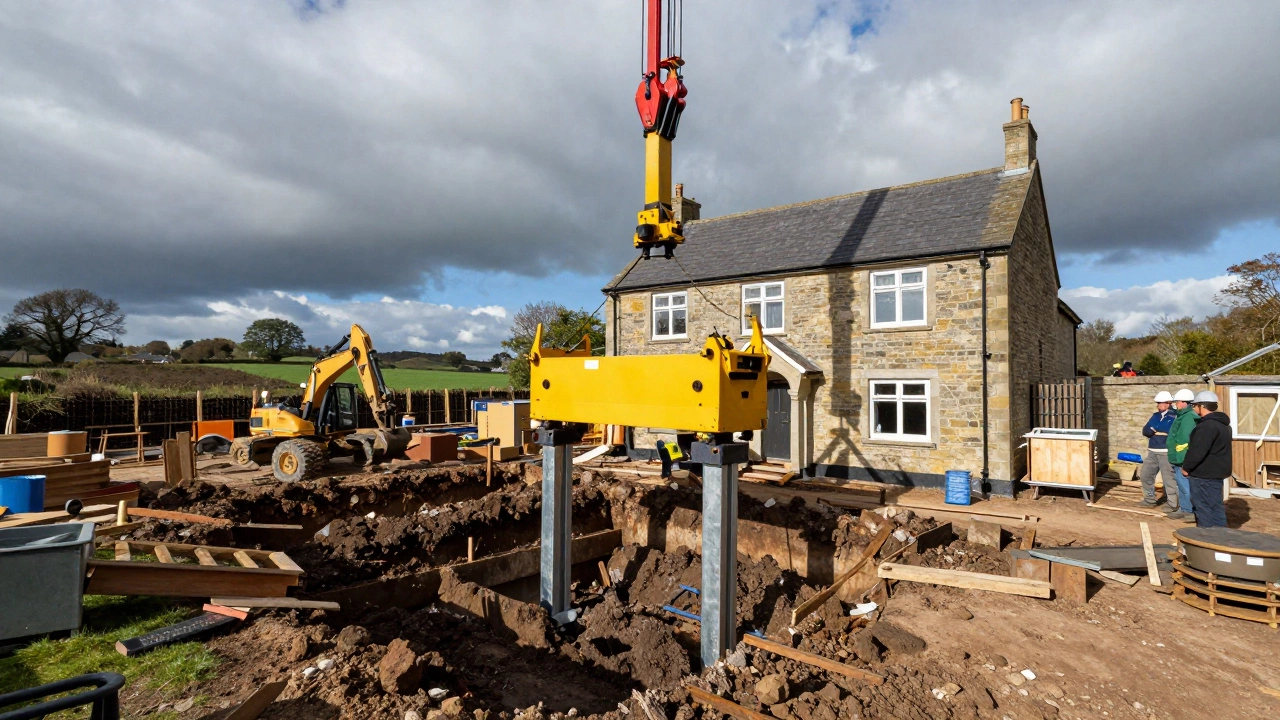
Pier Installation: When the soil is unstable or the load is heavy, hydraulic piers are driven deep into the ground until they hit load-bearing strata. This is the most reliable but time-intensive method.
| Pier Type | Installation Speed | Total Project Duration | Invasiveness |
|---|---|---|---|
| Helical Piers | Fast (twisted into soil) | 2-4 days | Low (minimal excavation) |
| Push Piers | Medium (hydraulic pressure) | 3-5 days | Medium (requires digging) |
| Slide Piers | Slow (manual placement) | 4-7 days | High (large excavation) |
For a typical Auckland home requiring 10-15 piers, the crew works for 3 to 5 days. Day 1 is usually excavation and setup. Days 2-4 involve installing the piers and hydraulically lifting the house. Day 5 is for finishing, backfilling, and cleaning up. You cannot use the repaired areas until the piers are fully set and the concrete footings are cured, which adds another 24-48 hours.
Factors That Delay Your Foundation Repair
Even with a clear plan, external factors can stretch your timeline. Being aware of these helps you manage expectations and avoid frustration.
Weather Conditions: Rain is the enemy of foundation work. Excavation requires dry soil. If it rains heavily in Auckland, muddy conditions make it unsafe for heavy equipment and compromise the integrity of the backfill. Contractors will delay starting or pause mid-project until the ground dries. Summer is generally the best time for repairs, but winter projects require contingency days for rain.
Permits and Inspections: In New Zealand, significant structural work requires a building consent from your local council. Applying for this can take 2 to 4 weeks before work even begins. Once the work is done, a council inspector must sign off on the job. If the inspector finds issues, rework can add days or weeks. Ensure your contractor handles the consent process to keep things moving.
Access Issues: Can the excavator get to your foundation? If your house is tight against a fence or neighbor’s property, manual excavation is necessary. This triples the labor time. Similarly, if you have extensive landscaping, trees, or underground utilities near the foundation, the crew must carefully expose and protect them, slowing down the digging process.
Material Availability: While common materials like concrete and steel are usually in stock, specialized components like specific pier sizes or custom anchors might need to be ordered. Reputable contractors order materials upfront, but supply chain disruptions can occasionally cause delays. Ask your contractor about their lead times for materials during the quoting phase.
Preparing Your Home for the Work
You play a role in keeping the project on schedule. Proper preparation reduces the chance of accidents, damage, or last-minute stops. Here is a checklist to get ready:
- Clear the Perimeter: Move outdoor furniture, grills, and planters away from the foundation. Inside, clear baseboards and move furniture at least 3 feet away from walls being repaired.
- Protect Belongings: Cover electronics and sensitive items with plastic sheeting. Construction dust is fine and pervasive; it gets everywhere.
- Pet Safety: Keep pets away from the work zone. Heavy machinery and loud noises stress animals, and open trenches pose a serious hazard.
- Utility Access: Ensure the crew can easily access your electrical panel and water shut-off valves. They may need to temporarily disconnect power or water during certain phases.
- Plan for Displacement: If the repair involves interior walls or significant noise/vibration, consider staying elsewhere for 2-3 days. Living in a construction zone is exhausting and disrupts sleep and routine.
Post-Repair: Monitoring and Maintenance
Once the crew leaves, the clock doesn’t stop completely. You need to monitor the repair to ensure it holds. Most reputable contractors offer a warranty, but warranties don’t cover new damage caused by poor maintenance.
Install crack monitors (also called tell-tales) on any remaining cracks. These are simple plastic devices that let you track if a crack is widening over time. Check them monthly. If the markers shift, contact your contractor immediately.
Address water management immediately. The most common cause of foundation failure is water pooling near the base of the house. Extend your downspouts at least 1.5 meters away from the foundation. Grade your yard so soil slopes away from the house. In Auckland’s rainy climate, proper drainage is non-negotiable. Neglecting this turns a one-time repair into a recurring expense.
Schedule a follow-up inspection with your engineer or contractor 6 months after the repair. This check ensures the structure has stabilized and no new movement has occurred. It’s a small step that provides peace of mind and protects your investment.
How long does it take to inject epoxy into a foundation crack?
The actual injection process is fast, typically taking 1 to 2 hours per crack. However, you should plan for a full day including setup, cleaning, and curing time. The epoxy itself cures in 24 hours, reaching full strength in that timeframe.
Can I stay in my house during foundation pier installation?
Yes, you can usually stay, but it’s not ideal. The process involves loud hydraulic jacks and heavy machinery. Dust levels will rise, and vibration may occur. Many homeowners choose to stay elsewhere for the 3 to 5 days of active work to avoid stress and mess.
Does weather affect the timeline of foundation repairs?
Significantly. Rain makes soil muddy and unstable, preventing safe excavation and compromising backfill quality. In regions with frequent rain like Auckland, contractors often build in extra days for weather delays. Dry seasons allow for faster, uninterrupted work.
How long do I need to wait after slabjacking before using the area?
You should wait at least 24 to 48 hours before walking on or driving over a mudjacked slab. The cementitious slurry needs time to harden and gain sufficient compressive strength to support weight without settling again.
What causes foundation repair timelines to extend beyond estimates?
Common delays include unexpected underground utilities, rock formations requiring jackhammering, permit approval holdups, and adverse weather. Poor access for heavy equipment also slows down excavation and material removal.