Flooring Layout: Best Patterns, Common Mistakes, and How to Get It Right
When you think about flooring layout, the way floor materials are arranged across a room to optimize flow, appearance, and durability. Also known as floor pattern, it’s not just about picking a style—it’s about how the material connects with the room’s shape, light, and use. A bad layout can make a room feel cramped, uneven, or cheap. A good one? It makes everything else look better—even if the rest of the design is simple.
Most people focus on the wood flooring, natural or engineered planks installed in straight, diagonal, or herringbone patterns or the tile layout, how ceramic, porcelain, or stone tiles are arranged in grids, staggered runs, or intricate mosaics. But the real issue isn’t the material—it’s the direction and starting point. Laying planks parallel to the longest wall is the default, but if your room has a strong focal point—like a fireplace or big window—you might want the flooring to lead the eye there instead. And if you’re putting tile in a small bathroom? A diagonal layout can make the space feel bigger. But do it wrong, and you end up with ugly cut pieces at the edges or uneven grout lines.
One mistake we see over and over? Starting the layout from the wrong wall. If you begin in the middle of a room or don’t account for doorways and transitions, you’ll get awkward gaps or mismatched seams. Always measure first. Dry-lay a few pieces to see how the pattern looks before glue or nails go down. And never ignore the subfloor. A wobbly or uneven base will ruin even the most carefully planned flooring layout. It’s not just about looks—it’s about stability. If your floor creaks or shifts, no amount of fancy pattern will save it.
There’s also the matter of flooring patterns, specific arrangements like herringbone, chevron, basketweave, or linear runs that change how a space feels. Herringbone adds movement and luxury but needs more material and skilled installation. Chevron is similar but has a sharper, more modern look. Straight runs are the easiest and cheapest, but they can make a narrow room feel even longer and tighter. The right pattern depends on your room size, the amount of natural light, and how you move through the space every day.
And don’t forget transitions. Where your kitchen tile meets your living room wood? That’s where most layouts fail. A poorly chosen transition strip can look like an afterthought. But if you plan it early—matching colors, heights, and styles—it becomes part of the design, not a flaw.
What you’ll find below are real examples from actual homes: how one family fixed a crooked laminate floor by changing the direction, why a bathroom tile job went wrong because they didn’t center the pattern on the vanity, and how a herringbone floor in a small hallway made the space feel twice as big. These aren’t theory pieces—they’re fixes people made, mistakes they learned from, and layouts that actually worked. Whether you’re doing it yourself or hiring a pro, the right flooring layout doesn’t just look good—it makes your whole space feel intentional.
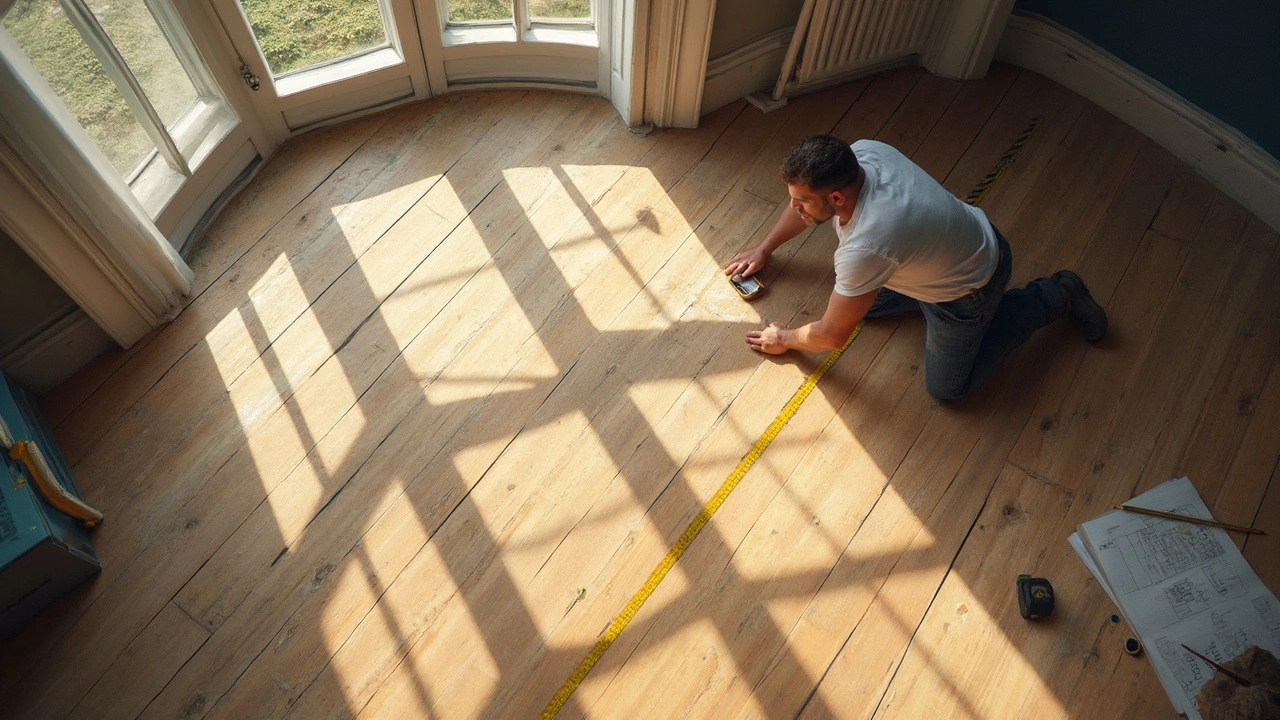
3 4 5 Rule Flooring: How to Nail Accurate Layouts Every Time
Curious about the 3 4 5 rule in flooring? This article breaks down what it is, why pros swear by it, and how you can use it to get sharp, accurate floor layouts. Learn step-by-step how to check if your room is square and avoid wonky floor patterns. Grab helpful tips to save time, stress, and materials on your next flooring project.