Landscaping ROI Calculator
Discover how much you save by investing in low-maintenance landscaping solutions like native groundcovers or drip irrigation.
Financial Breakdown
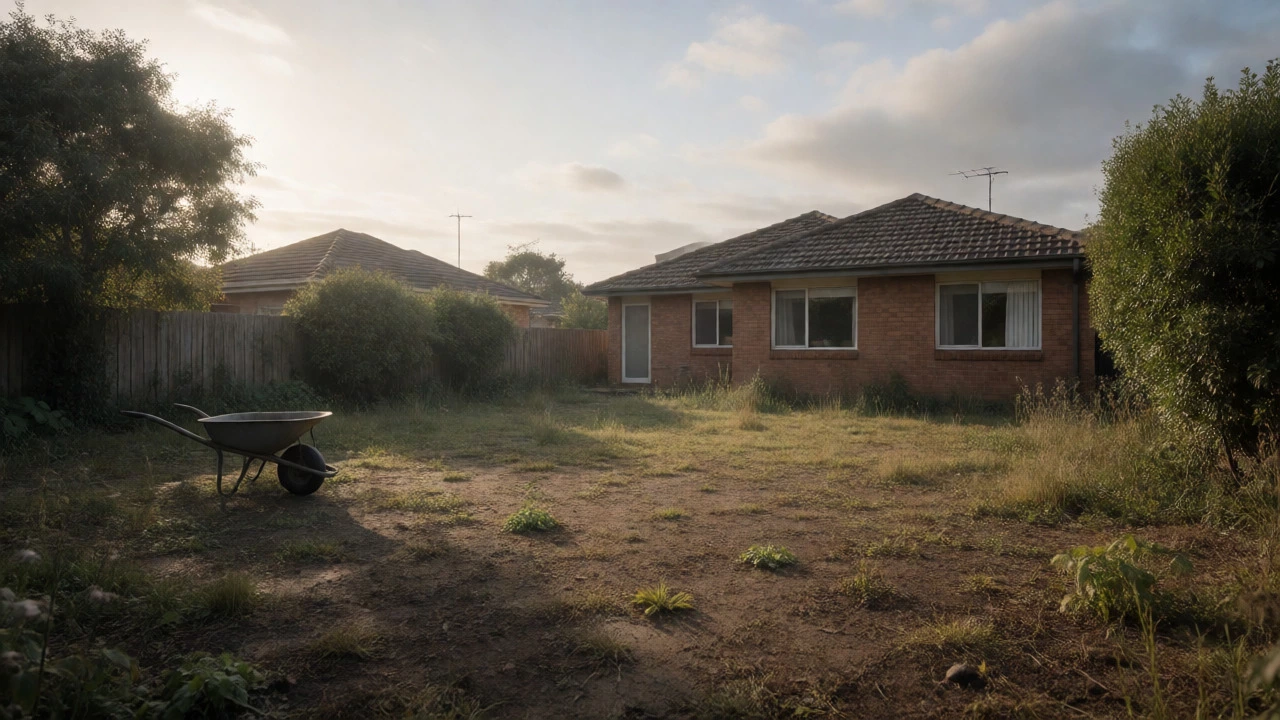
You just moved into a house with a patch of dirt that used to be a lawn, or maybe you're staring at an overgrown jungle in your backyard wondering where to start. The quote from the landscaper makes your wallet weep. But here’s the thing: most expensive landscaping projects fail because they’re built on high-maintenance habits, not bad design. You don’t need a six-figure budget to get a stunning yard. You need strategy.
So, what is actually most cost effective for landscaping? It isn’t about buying the cheapest mulch. It’s about reducing the ongoing labor and water costs while maximizing curb appeal with minimal upfront spend. If you live in Auckland like I do, you know the rain can be relentless, but the sun can also scorch. Your strategy needs to fit that reality. Let’s break down exactly how to spend less now so you aren’t paying forever later.
The Myth of Cheap Materials vs. High Value Design
Most homeowners think saving money means picking the cheapest pavers or skipping the soil amendment. That’s a trap. Cheap materials often crack, fade, or sink within two years, forcing you to pay for repairs or replacements. True cost effectiveness looks at the lifecycle cost. For example, a basic concrete path might cost $50 per meter to install, but if it cracks due to poor base preparation, you’re looking at $150 per meter to fix it properly later. Conversely, a slightly more expensive interlocking paver system installed correctly lasts decades with almost zero maintenance.
Think of your landscape as an investment portfolio. You want assets that appreciate (or at least hold value) without requiring constant cash injections. This means prioritizing elements that reduce your weekly chores. Every hour you spend mowing, edging, or pulling weeds is money out of your pocket, even if you don’t hire someone. If you value your time at $30 an hour, spending two extra hours a week on maintenance costs you $3,120 a year. Suddenly, a $2,000 upgrade that cuts that time in half pays for itself in eight months.
Native Plants Are the Heavy Lifters
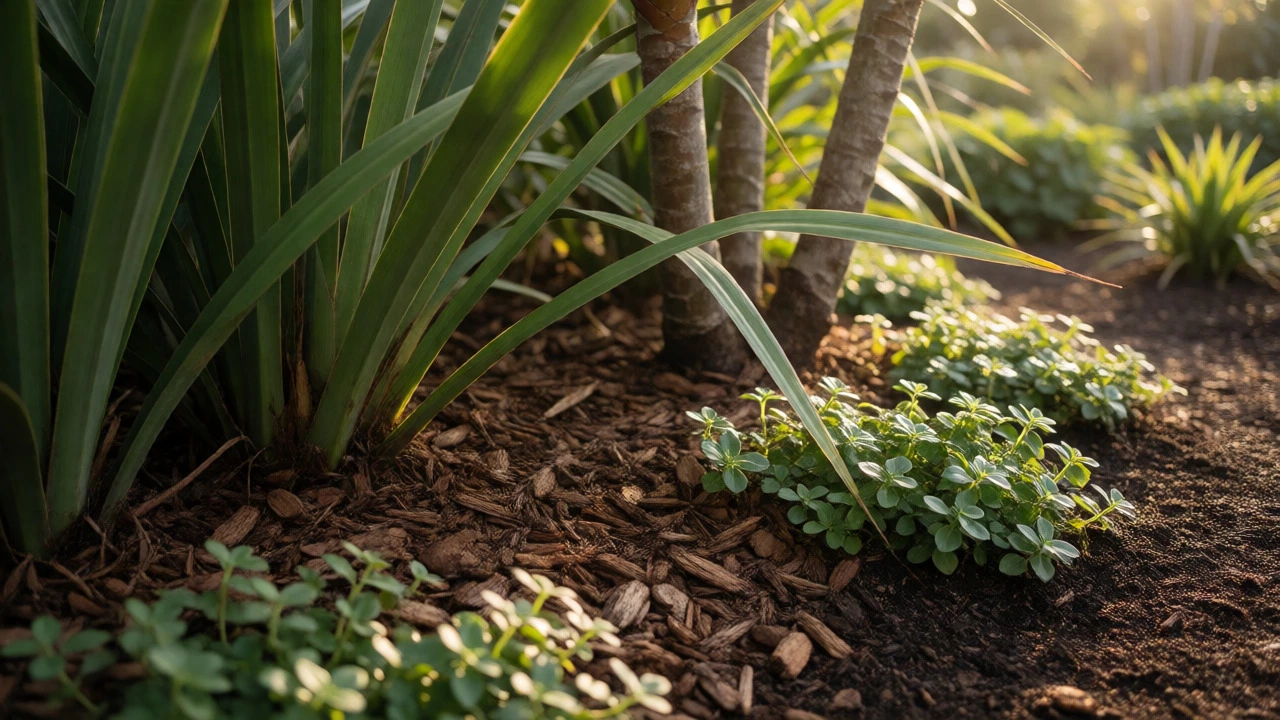
If you want to slash your long-term costs, look no further than native plants. In New Zealand, this means leaning into species like Manuka, Flax (Harakeke), Cabbage Trees (Tī Kōuka), and various Coprosma varieties. Why? Because they evolved here. They thrive in our specific soil pH, handle our wind patterns, and generally require far less water once established.
Native landscaping is a gardening approach using indigenous plant species adapted to local climate conditions, significantly reducing water and fertilizer needs. Unlike exotic imports that demand special care, natives like NZ Flax are drought-tolerant and pest-resistant by nature.
Consider the difference between a traditional English-style lawn and a native groundcover mix. A standard Ryegrass lawn in Auckland needs regular mowing, fertilizing, and watering during dry spells. A groundcover of Muehlenbeckia complexa (Maidenhair Vine) or Disphyma australe (New Zealand Ice Plant) spreads quickly, suppresses weeds naturally, and rarely needs trimming. The initial planting cost might be similar, but the five-year maintenance cost of the native option is nearly zero compared to the hundreds spent on fuel, water, and chemicals for the lawn.
DIY Hardscaping: Where You Can Save Big
Labor is usually 50-60% of any landscaping quote. If you can do the heavy lifting yourself, you save thousands. But not all tasks are equal. Digging holes for large trees requires machinery and expertise. Laying pavers requires precise leveling. However, installing gravel paths, laying turf rolls, and building raised garden beds are highly manageable DIY projects.
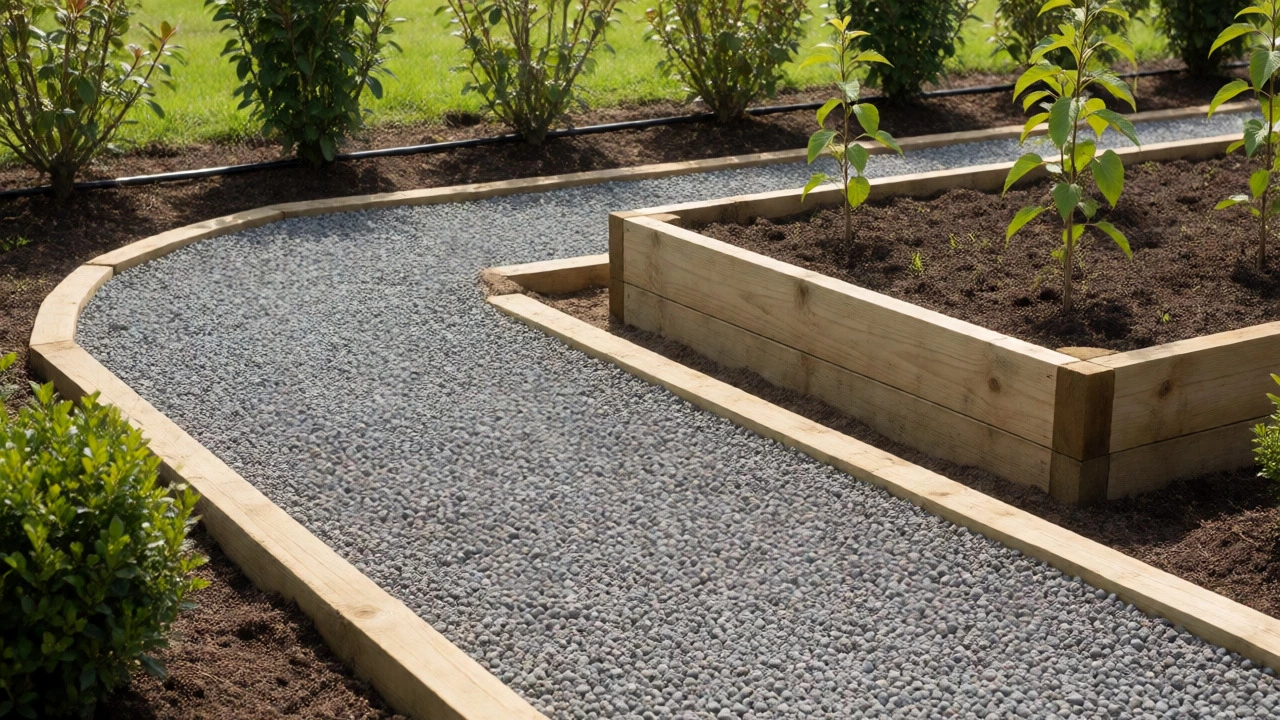
Gravel is the unsung hero of budget landscaping. It’s cheap, drains well (crucial for our wet winters), and looks modern. A simple path made of compacted sub-base topped with decorative pea gravel can cost under $20 per square meter if you do it yourself. Compare that to $80-$120 per square meter for professional paving. The trick is proper containment. Use steel edges or treated timber borders to keep the gravel in place. Without edges, you’ll spend every weekend raking stones back onto the path, which defeats the purpose of saving money.
Smart Irrigation Saves Water Bills
Water bills in Auckland have been creeping up, especially with recent environmental restrictions. Hand-watering is inefficient. You lose water to evaporation and runoff. Drip irrigation systems deliver water directly to the root zone. They use up to 70% less water than sprinklers. Yes, the upfront cost for a drip line setup is higher-maybe $300-$500 for a medium-sized garden-but the savings on your quarterly water bill add up fast.
Plus, automated timers mean you don’t forget to water when you’re away. Dead plants are expensive mistakes. Replacing a mature shrub that died from neglect costs far more than installing a reliable irrigation system in the first place. Look for pressure-compensating emitters; they ensure even distribution across slopes, preventing dry spots at the top and waterlogged roots at the bottom.
Mulching: The Cheapest Upgrade You Can Make
If you only do one thing this weekend, spread mulch. Good quality organic mulch, such as pine bark or wood chip, costs around $40-$60 per cubic meter. One cubic meter covers roughly 10 square meters at a healthy depth. Mulch does three critical jobs: it retains soil moisture, suppresses weed growth, and breaks down to improve soil health over time.
Weeds are the silent budget killers. They steal nutrients and water from your desired plants, forcing you to buy more fertilizer and water. A thick layer of mulch blocks sunlight from reaching weed seeds, stopping them before they start. This reduces the need for herbicides and manual weeding. Just make sure you don’t pile it against tree trunks, which can cause rot. Keep it a few centimeters away from stems. Reapply every 12-18 months, and you’ll see a dramatic drop in maintenance hours.
Phasing Your Project Over Time
One of the biggest financial mistakes is trying to finish everything at once. It strains your budget and forces compromises. Instead, phase your landscaping. Start with the structural elements that define the space: fences, paths, and major trees. These set the stage and provide immediate visual structure. Then, move to hedges and shrubs. Finally, add annual flowers or vegetables for color and harvest.
This approach lets you learn your garden’s microclimates. Maybe that corner gets too much shade in winter, or that slope drains poorly after heavy rain. By waiting a season before planting delicate exotics there, you avoid replacing dead stock. You can also take advantage of end-of-season sales at nurseries. Buying young saplings and letting them grow into maturity over 3-5 years is often cheaper than buying instant-large plants, and they tend to establish stronger root systems.
Comparison of Common Landscaping Elements
To help you decide where to put your money, here’s a quick breakdown of common options based on upfront cost, maintenance effort, and longevity.
| Element | Upfront Cost | Maintenance Effort | Longevity | Best For |
|---|---|---|---|---|
| Native Groundcover | Low-Medium | Very Low | High (10+ years) | Slopes, weed suppression |
| Standard Lawn | Low | High (Weekly) | Medium (Requires reseeding) | Kids/pets play area |
| Gravel Path (DIY) | Low | Low (Raking) | High (With edges) | Walkways, drainage areas |
| Paved Patio (Pro) | High | Very Low | Very High (20+ years) | Entertaining spaces |
| Drip Irrigation | Medium | Low (Check emitters) | High (10+ years) | All planted areas |
Common Pitfalls That Drain Your Budget
Avoid these traps if you want to stay on budget. First, ignoring soil testing. Adding fertilizer without knowing your soil type is like throwing money in the wind. A basic soil test kit costs $20 and tells you if you need lime, nitrogen, or phosphorus. Second, planting too close together. We want instant gratification, so we pack plants in tight. Within two years, they compete for light and nutrients, leading to disease and die-off. Give them room to breathe, or accept the pruning costs later.
Third, choosing trendy over timeless. Brightly colored artificial turf or specific stone styles might look great today, but if they date quickly, you’ll replace them sooner. Stick to neutral tones and natural materials for permanent structures. You can always change cushions or pots for a fresh look without ripping up the patio.
Is artificial grass really cheaper than real grass?
Not necessarily. While artificial grass has zero mowing costs, the installation is expensive ($60-$100 per square meter professionally). Real grass costs less to install initially but requires ongoing maintenance. Artificial grass also degrades after 10-15 years and becomes waste. For small areas, it’s convenient, but for large yards, natural lawns or native groundcovers are often more cost-effective long-term.
How much should I budget for a full landscaping project?
A general rule of thumb is 5-10% of your home’s value for a comprehensive landscape overhaul. However, you can achieve significant improvements for 1-2% if you focus on DIY hardscaping, native plants, and phased implementation. Always add a 15-20% contingency buffer for unexpected site conditions like rocky soil or poor drainage.
Do native plants attract pests?
Native plants support local ecosystems, including beneficial insects that prey on pests. They are generally more resistant to local pests than exotic species. While some caterpillars may eat leaves, this rarely kills the plant. Avoid broad-spectrum pesticides, which kill the good bugs too, allowing pest populations to rebound faster.
When is the best time to plant in New Zealand?
Autumn (March-May) is ideal. The soil is still warm from summer, encouraging root growth, while rainfall increases, reducing watering needs. Spring is also acceptable but requires more vigilance with watering as temperatures rise. Winter planting is possible for hardy species but slows establishment.
Can I do landscaping myself if I have no experience?
Yes, start small. Try building a raised bed or laying a gravel path first. Learn from those projects before tackling complex drainage or retaining walls. YouTube tutorials and local nursery advice are invaluable resources. Don’t hesitate to hire professionals for earthmoving or electrical work for safety reasons.