Picture Hanging Hardware & Placement Calculator
Configuration
Recommendations
Recommended Hardware
Ideal Placement
Center of Art from Floor:
Pre-Hang Checklist
Enter your artwork details to get personalized hanging advice.
You just bought that perfect vintage map or framed a photo from your recent trip. You’re excited to put it on the wall, but then you hesitate. One wrong move with a hammer and nail, and you’ve got a crooked frame, a hole in the drywall, or worse-damage to the artwork itself. We’ve all been there. The gap between "it looks good in my head" and "it stays up on the wall" is often filled with avoidable mistakes.
Hanging picture frames is a common home improvement task that requires understanding wall types, weight distribution, and proper hardware selection. It seems simple until you realize that not all walls are created equal. Drywall, plaster, brick, and concrete each demand different approaches. Ignoring these differences leads to falling frames and frustrated homeowners.
The Mistake of Guessing Wall Types
The first big error people make is assuming their wall is standard drywall. In older homes, especially those built before the 1950s, you might be dealing with lath and plaster. This material is harder than drywall but more brittle. If you hammer a standard nail into plaster without checking, you risk cracking the surface around the anchor point. Even within modern drywall, there are variations. Some walls have a single layer of half-inch drywall, while others have double layers for soundproofing or fire resistance.
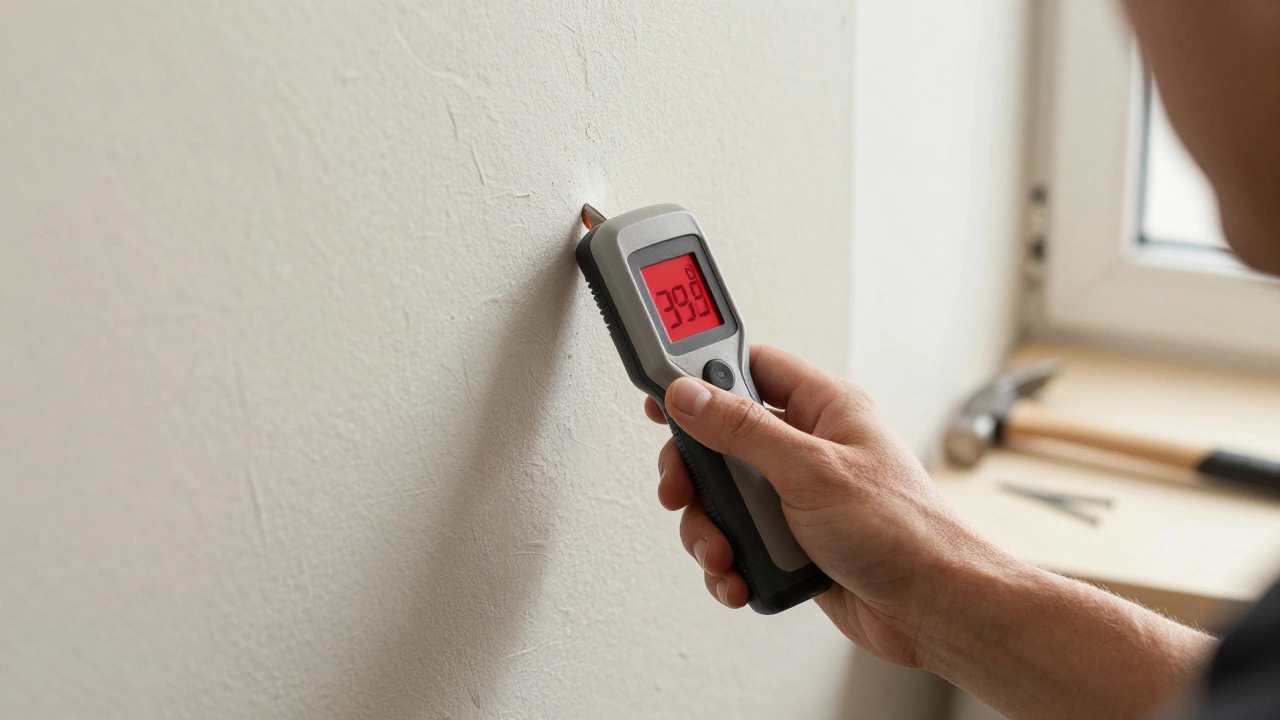
To avoid this, you need to identify what’s behind the paint. A quick test involves pressing your fingernail into an inconspicuous area. If it dents easily, it’s likely drywall. If it resists, it could be plaster. For definitive answers, use a stud finder that detects density changes. These devices cost around $20-$40 and can save you hours of patching holes later. Knowing your wall type dictates every subsequent step, from tool choice to hanging height.
Skiping the Stud Finder Step
Even if you know your wall type, skipping the search for studs is a recipe for disaster when hanging anything heavier than a lightweight canvas. Studs are the vertical wooden or metal beams inside your walls that provide structural support. Drywall alone cannot hold much weight; it relies on these studs for stability. Most studs are spaced 16 inches apart center-to-center, though some older homes use 24-inch spacing.
When you hang a heavy mirror or large gallery frame directly into drywall without hitting a stud, you rely entirely on anchors. While anchors work for moderate weights, they pull out over time due to gravity and vibration. To find studs accurately, start by scanning horizontally across the wall at waist height. Mark the edges where the stud finder beeps or lights up. Measure the distance between marks to confirm the spacing pattern. Once located, mark the center of the stud with a pencil. This small investment of five minutes prevents the need to rehang your art months later because the hook pulled loose.
Choosing the Wrong Hardware for the Weight
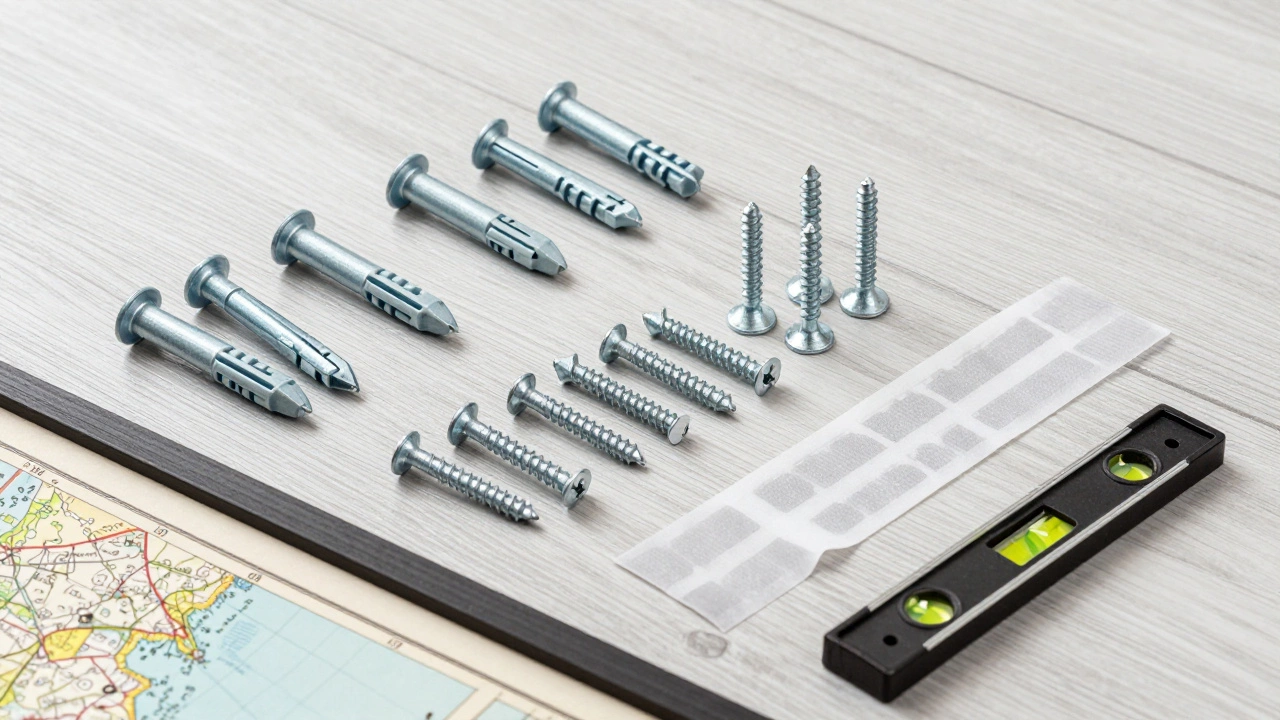
One of the most common errors is using generic nails or screws for everything. Not all fasteners are equal. A standard finishing nail might hold a small photo frame, but it will fail miserably with a 30-pound oil painting. You must match the hardware to the weight of the object. Here’s a quick guide:
- Under 5 lbs: Standard picture hangers or adhesive strips (like Command strips) work well.
- 5-20 lbs: Use plastic expansion anchors inserted into drywall. These expand behind the wall to grip tightly.
- 20-50 lbs: Toggle bolts are ideal. They screw into the wall, then fold open behind the drywall, distributing weight over a larger area.
- Over 50 lbs: Always mount directly into a stud using wood screws. No anchor should bear this load alone.
Using the wrong anchor size is another pitfall. Small plastic anchors can’t handle medium-weight items, leading to slow creep where the frame gradually sinks lower each day. Check the weight rating printed on the anchor packaging. If it says “holds up to 10 lbs,” do not use it for a 15 lb frame. Manufacturers test these limits under static conditions; real-world vibrations and humidity changes reduce effective capacity.
Ignoring Sight Lines and Room Flow
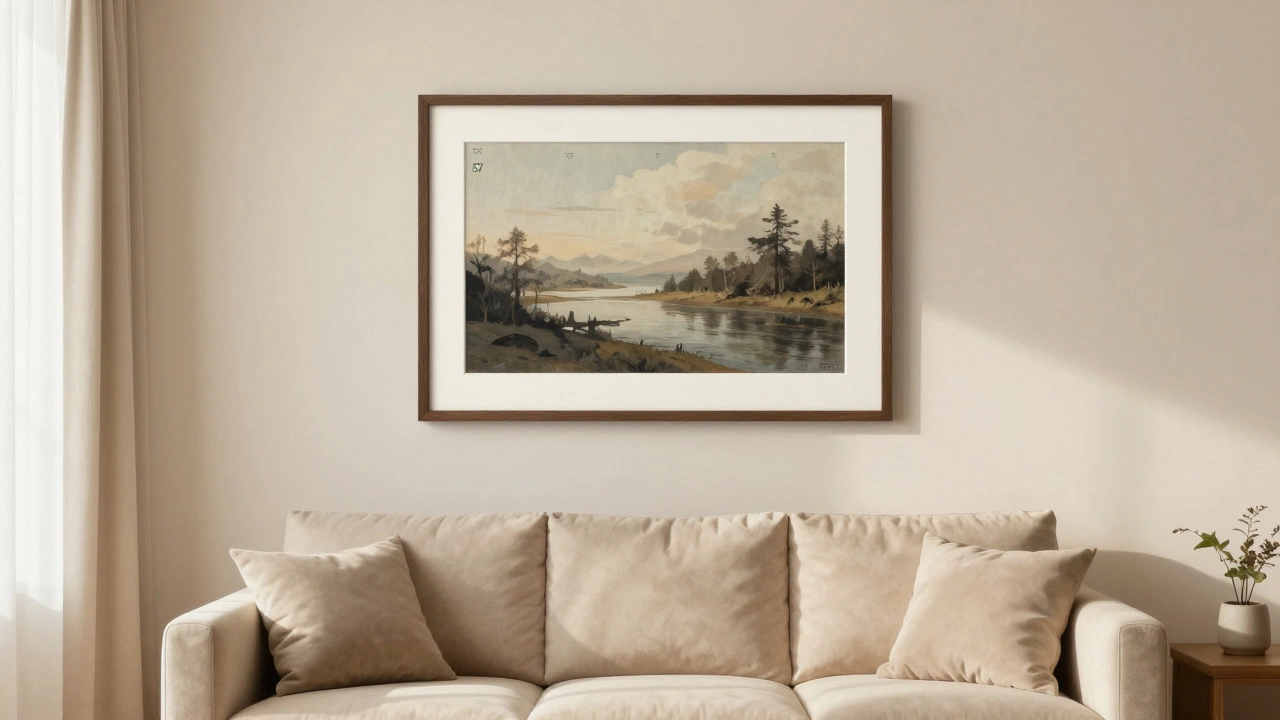
Technical execution matters, but aesthetic placement is equally important. Many people hang pictures too high because they measure from the floor instead of considering eye level. The standard rule of thumb is to hang art so the center of the piece is at 57 to 60 inches from the floor. This aligns with average human eye height when standing. However, this isn’t a rigid law. Adjust based on furniture below. If a sofa sits against the wall, leave 6-8 inches of space between the top of the sofa and the bottom of the frame. This creates visual breathing room.
Another mistake is clustering pieces randomly without a plan. Groupings look chaotic if not balanced. Create a mock-up on the floor first. Arrange frames together, stepping back to assess symmetry and negative space. Use painter’s tape to outline shapes on the wall before drilling. This lets you adjust positioning without leaving holes. Consider the room’s traffic flow. Don’t place valuable art in high-impact zones like hallways or near door handles where accidental bumps are likely.
Neglecting Level Checks During Installation
It feels intuitive to think you can hang something straight by eye, but our perception is easily fooled. A frame tilted even two degrees off-level draws attention immediately, making the whole arrangement look sloppy. Always use a spirit level during installation. Place the level on top of the frame or across the mounting brackets. Adjust until the bubble sits perfectly centered between the lines. For longer installations, such as gallery walls, check both horizontal and vertical alignment between multiple pieces.
If you’re installing wire-hung frames, remember that the wire creates slack. The highest points aren’t the hooks themselves but where the wire contacts the frame. Measure from the top of the frame down to the tautest part of the wire, then subtract that distance from your desired hanging height. This ensures the actual visible portion hangs at the correct elevation. Skipping this calculation results in frames sitting lower than intended, disrupting the visual balance of the room.
Failing to Protect the Artwork
Once hung, the job isn’t done. Exposure to sunlight, humidity, and temperature fluctuations damages artwork over time. UV rays fade pigments in paintings and photographs. Direct sunlight can cause irreversible color loss within months. Hang sensitive pieces away from windows or use UV-filtering glass. In humid climates like Auckland, moisture promotes mold growth on paper-based works. Ensure adequate ventilation behind frames to prevent condensation buildup.
Dust accumulation also harms surfaces. Clean frames regularly with a soft, dry cloth. Avoid chemical cleaners that might seep through gaps and damage backing materials. For valuable originals, consider professional conservation advice. Regular maintenance extends the life of your collection and keeps display areas looking fresh.
| Mistake | Immediate Result | Long-Term Risk |
|---|---|---|
| Skipping stud location | Frame sags slightly | Anchors pull out, damaging drywall |
| Using undersized anchors | No immediate issue | Gradual sinking, eventual fall |
| Hanging too high | Looks disconnected from furniture | Visual discomfort, poor composition |
| No level check | Tilted appearance | Perceived carelessness, distraction |
| Direct sun exposure | None initially | Fading, brittleness, value loss |
Pro Tips for Flawless Execution
Before starting any project, gather all tools: stud finder, level, drill, appropriate anchors, screws, pencil, and measuring tape. Lay them out clearly. Work methodically rather than rushing. Test-drill pilot holes if using toggle bolts to ensure smooth insertion. Double-check measurements twice-once before marking, once after transferring marks to the wall. Take photos of your setup process; they help troubleshoot issues later.
For very heavy items, consult a professional installer. They bring specialized equipment and experience handling complex scenarios. DIY saves money but shouldn’t compromise safety or aesthetics. Remember, fixing mistakes costs more time and effort than doing it right the first time.
How do I know if my wall has studs?
Use a digital stud finder to detect density changes behind the wall surface. Alternatively, tap lightly along the wall; hollow sounds indicate empty spaces between studs, while solid thuds suggest wood or metal framing. Confirm findings by checking multiple spots vertically.
Can I hang heavy mirrors without studs?
Only if you use heavy-duty toggle bolts rated for the specific weight. Plastic anchors won’t suffice. Toggle bolts spread force across a wider area behind drywall, reducing failure risk. Still, direct stud mounting remains safer for items over 50 pounds.
Why does my picture keep tilting sideways?
This usually happens when one side of the hanging mechanism slips or loosens. Check that wires are evenly tensioned and hooks sit securely in anchors. Reinstall using fresh anchors if existing ones show wear. Ensure the frame itself isn’t warped.
Is it okay to use command strips for large frames?
Command strips work best for lightweight items under 16 lbs on smooth, non-porous surfaces. Larger frames exceed their holding capacity, risking sudden detachment. Stick to mechanical fasteners for anything substantial to guarantee security.
How often should I check hung artwork?
Inspect quarterly for signs of sagging, loose anchors, or dust buildup. Seasonal temperature shifts affect adhesive strength and wood expansion. Tighten screws gently if needed and clean surfaces promptly to preserve condition.